Table of content
Let Your AI Schedule Appointments for You!
Jun 01 2025
Table of content

With Workflows, you can set up a chain of actions that your chatbot will follow in specific situations — perfect for things like answering questions, collecting customer info, or (in this case!) booking appointments for your visitors. It’s all about streamlining your service and making life easier for both you and your customers!
✅ What You’ll Need:
- A basic idea of how Workflows work
Don’t worry if you’re new to it! We’ve got you covered with a super helpful guide that breaks everything down for you. 👉 Check it out here
👉 Want to try the workflow we made for appointment schedule in this blog? You can download our sample Workflows and try it out with your CXG chatbot to see how it’s all structured!
🚀 Getting Started:
Let’s walk through how to create a custom set of actions your bot will kick off when a user starts a brand-new conversation.
Step 1: Create Your Workflow
- You can either create a new workflow or import one of ours into CX Genie.
To start fresh:
- Click Create Workflow – a popup will appear.
- Want it to trigger under certain conditions? Toggle Trigger Condition.
- Give your workflow a name.
- Turn on trigger Condition
- Choose Trigger by Action → When A New Conversation is Created
- Hit Create Workflow to move on!
🔍 Don’t worry if it looks a bit complex at first! We've put together a handy guide to help you understand each trigger.
👉 View Trigger Conditions Guide
Step 2: Set Up Your Workflow Components
💡 Heads Up: It might feel a bit overwhelming at first, so we created a guide listing all the current workflow components and what they do.
Now let’s build the flow based on the trigger we just created:
- Hover over the light purple arrow on the right of the black block and click to add your next block.
- You can customize the block type — just hit the 🔽 dropdown and pick the one you need.
For this example, we’re starting with a Frequent FAQs block. This will show a list of selected FAQs to your users, and you can even add a custom message to go with it!
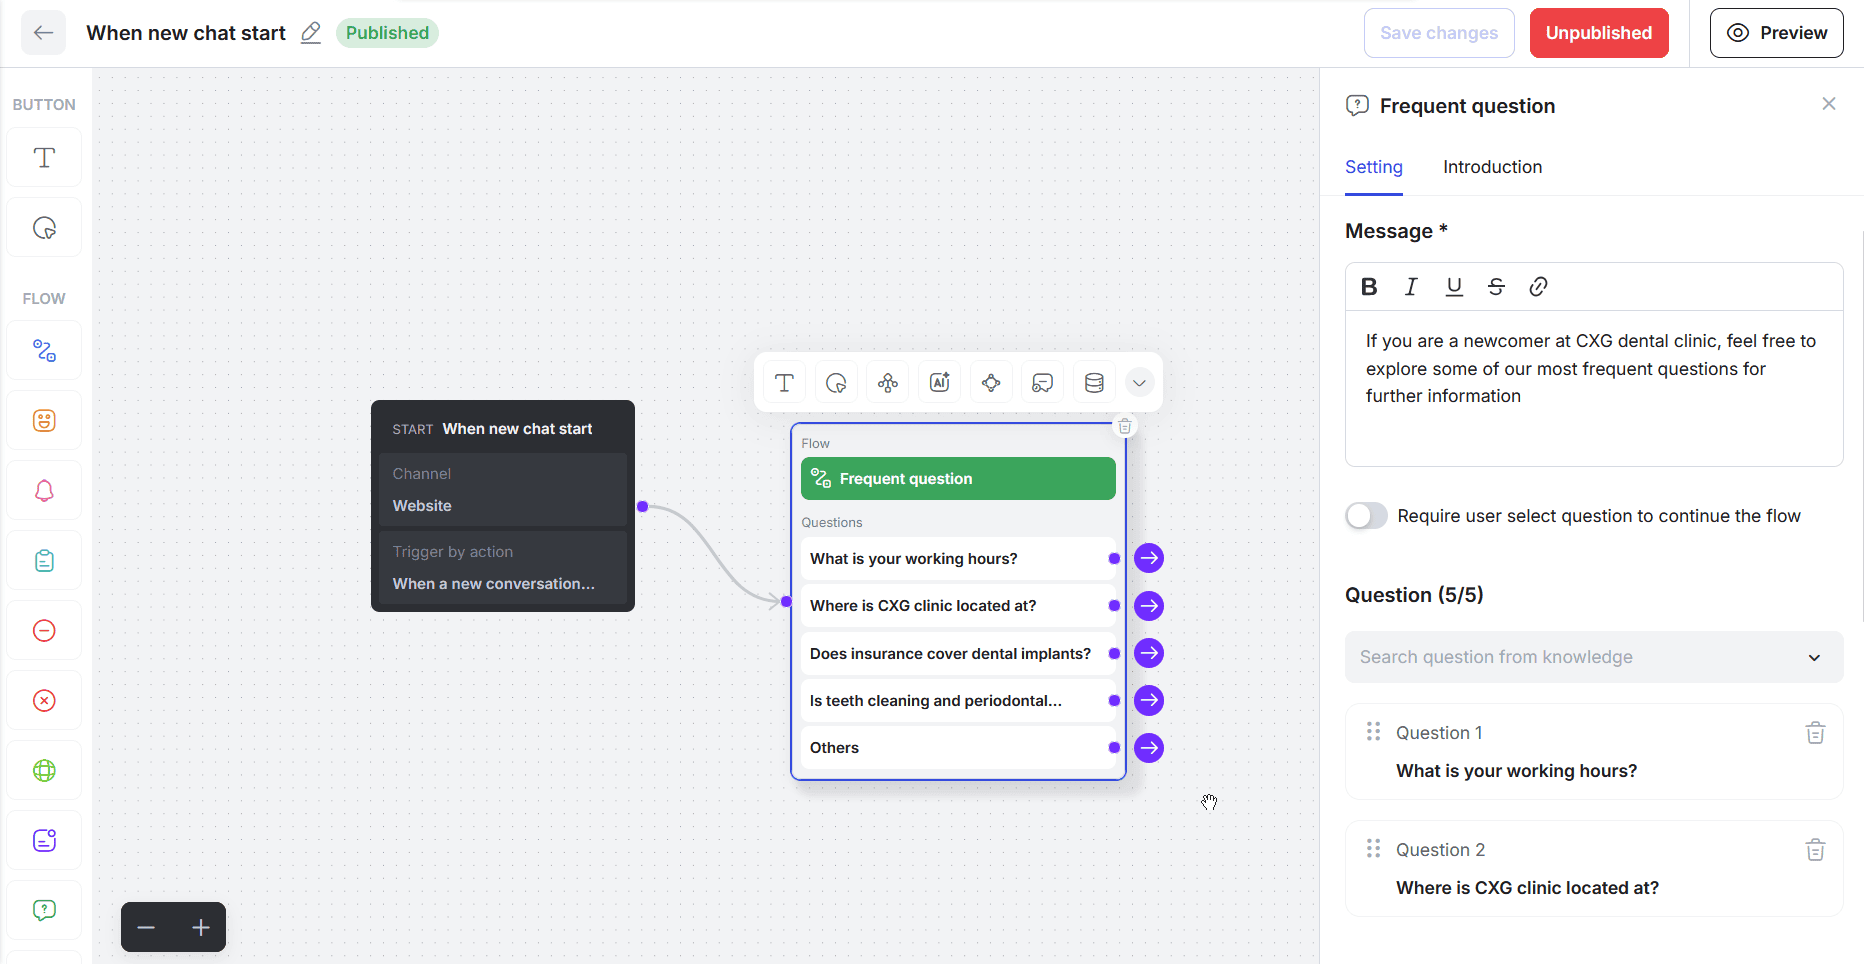
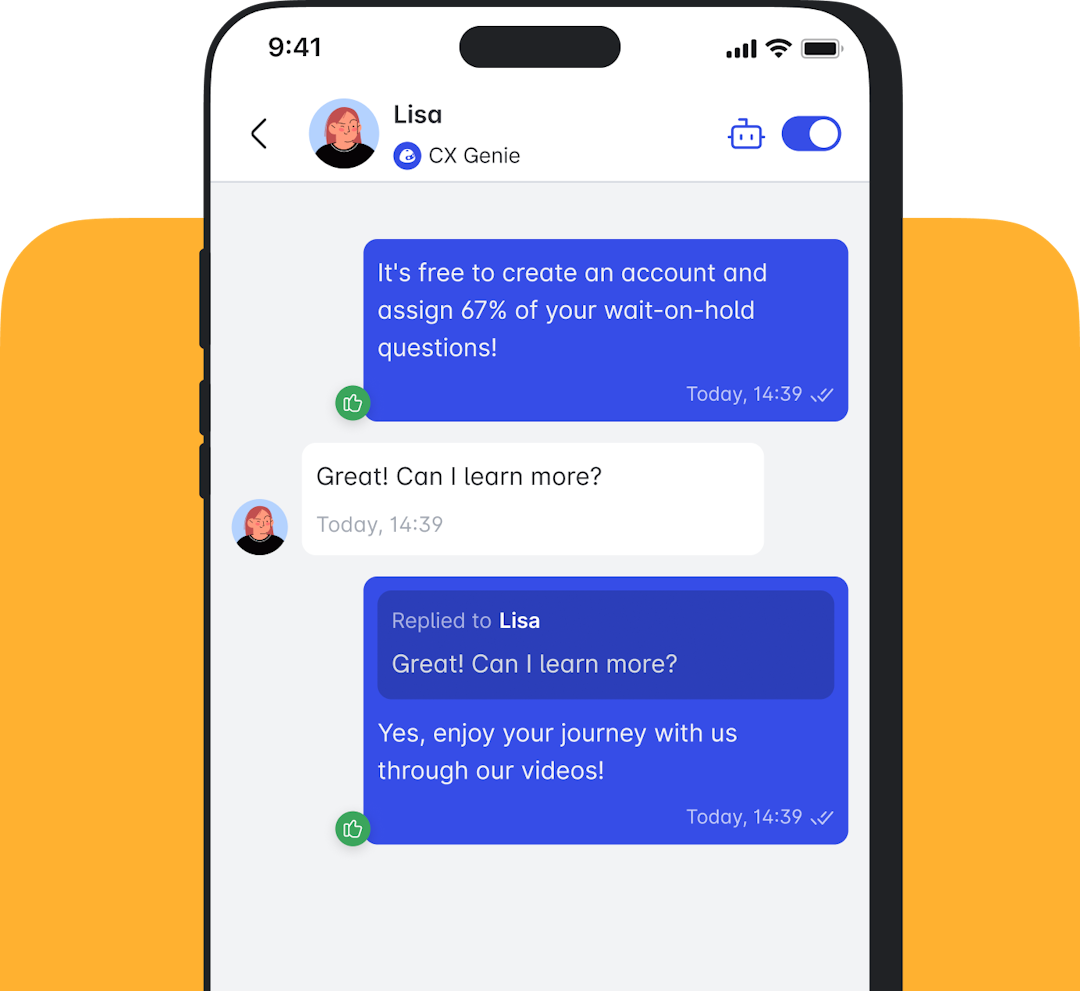
🔍 Want to see what your flow looks like for users? Click Preview at the top right.

‼️ Note: If the Preview button is greyed out, click Save Changes first — that should fix it!
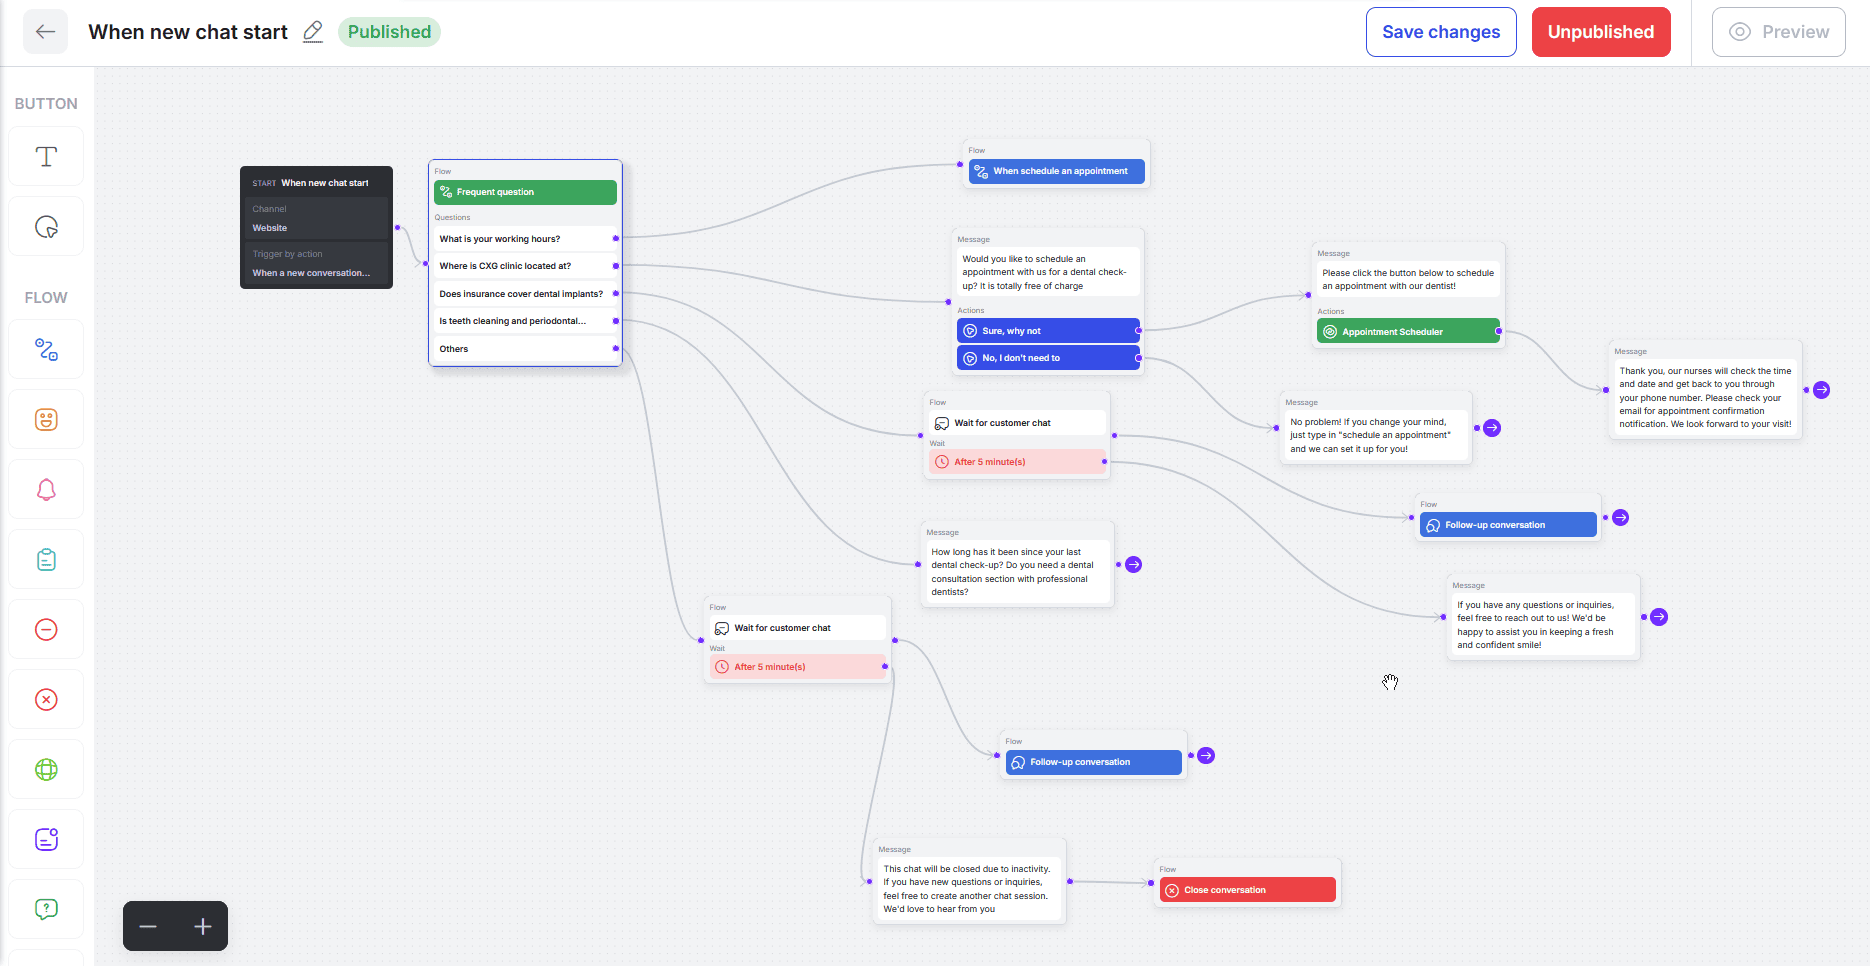
Step 3: Connect More Blocks
Now it’s time to add more actions to your workflow!
✨ Pro Tip: Try using one of our ready-made workflows to see how it works on your own bot — it's a great way to get familiar with everything!
Need Help?
If you run into any issues with setting up Workflows, we’ve got your back!
Message us in our Discord community or drop us a line at [email protected] — we’re always happy to help!


Join our newsletter!
Related articles

No data